Wired 802.1x on OS X
Getting 802.1x going on OS X for wired networks is not something that should be particularly difficult. In fact, when you connect the machine to the network, you’ll get a little popup window asking for your user credentials.
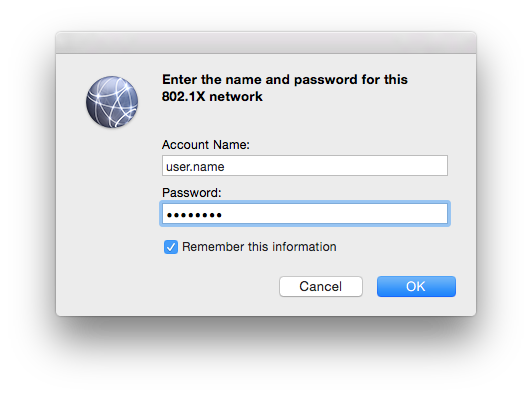
A prompt asking for the user’s 802.1x credentials.
That’s all well and good until you get to the use case I was tasked with – drop the machine onto different VLANs depending on their role in AD. Unfortunately, that’s where our little pop-up box causes trouble. Turns out the credentials used there will apply to all users of the machine. Basically, we remain authenticated to the network as our original user.
The solution to this problem involves a configuration profile. If you’ve never used one of these for OS X before, don’t worry. They’re just XML files that apply configuration to the machine. The difficult bit is generating the configuration we want.
Firstly, the tools required can be a little convoluted to get a hold of if you’re not doing mass OS X management. The recommended approach for the type of configuration file we need is to use the tools built in to OS X Server. If you’ve got that – brilliant. If not, there is a bit of a workaround.
On an OS X box, you can download Apple Configurator from the App Store. On a Windows machine, you could use iPhone Configuration Utility but you will have a hard time getting hold of it.
Either way, install and launch the application. You’ll want to create a new WiFi profile. This sounds a little counter-intuitive but the settings are very similar and it gets round the fact the tool was built for configuring iOS rather than OS X.
To begin, we’ll add the CA certificate for our RADIUS server to the profile. It’s needed in order for the device to trust your server. Otherwise your server logs will fill up with timed out sessions as the machine backs out of the transaction. You’ll also see a lot of eapol errors in the system log on the device.
To add your certificate, simply select the Certificates tab and click on “configure”. Select the file containing the CA for your RADIUS server.
Now select the WiFi tab. Enter whatever SSID you’d like (it’s not going to be used) and change the security type to enterprise. You’ll now see a second set of tabs further down the page. Ensure the TTLS protocol is selected and PAP is chosen as the authentication method.
While yes, PAP is a plain text protocol and you could select MSCHAPv2 instead, I had real trouble getting it working with our domain bound RADIUS server. There is an increase security risk in using PAP but it is operated within a TTLS tunnel. On top of that, we’re configuring the endpoint to only trust RADIUS servers signed by our CA. I’d say the risk is therefore minimal but it’s up to you to decide for your own use case.
Either way, save and export the configuration profile. Remember not to sign the profile quite yet. We’ll be making some manual changes in this next step.
Open your configuration profile in a text file editor. You’ll see that it’s simply an XML file you’ll be editing. Compare your file to the example in this link and adjust the contents to roughly match.
The important parts to note are your certificate UUID should match that referenced in the AuthenticationMethod section. It’s also worth noting that we attach to the “FirstActiveEthernet” device. This is how we turn a WiFi 802.1x profile in to a wired 802.1x profile.
We’re also using the “system” and “login” modes. Those lines are what makes the configuration profile apply to the system (i.e. no-one logged in) and also the login window. It’s that login window feature that’ll send the user’s credentials as they log in. In the configuration I used this for, we use the user’s role to drop them onto an appropriate VLAN.
With your configuration profile adjusted, it’s ready for deployment. Remember to sign it if you will be doing any form of mass deployment. That said, an unsigned profile is enough to test with.
To install the profile for testing, simply double click on the .webconfig file on the OS X machine. You’ll be asked if you want to install the profile.

Installing the configuration profile.
If the profile is not signed, you’ll be asked to confirm you trust the profile. You do for a test but not in a live deployment.
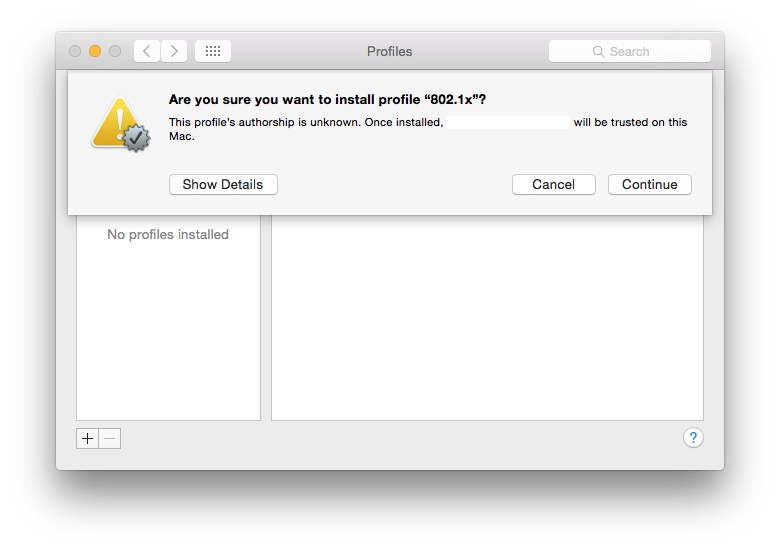
If the profile is unsigned, you must agree to trusting it.
Finally, you will see a pop-up for a system username and password. This is entirely optional and are the credentials the machine will use to authenticate when there are no users logged in. It won’t be useful in most cases but could potentially be used as a way of flagging the machine is trusted to your RADIUS server. After all, any OS X machine plugging into the network will present a login screen to the user. You may want to prevent access in these cases through such a mechanic or even using a more simplistic MAC white-list.
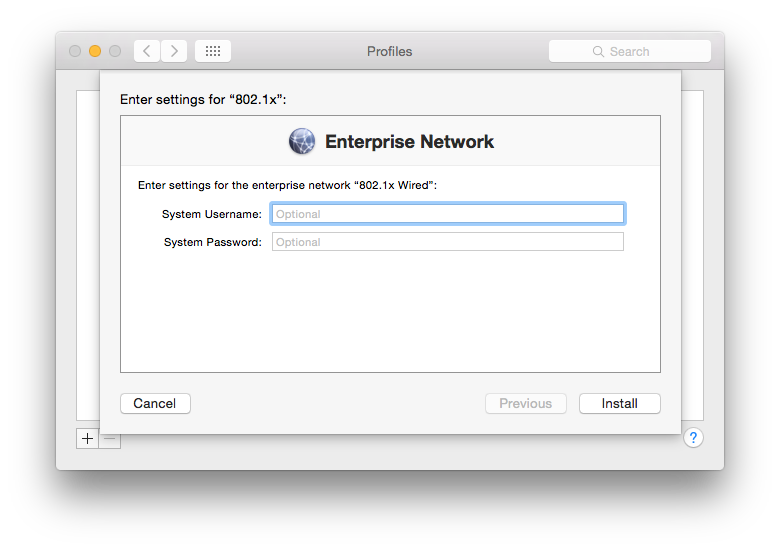
Optionally enter the credentials for a system login.
Either way, click on install. Assuming all is good, you’ll now see an extra option on the standard login screen.
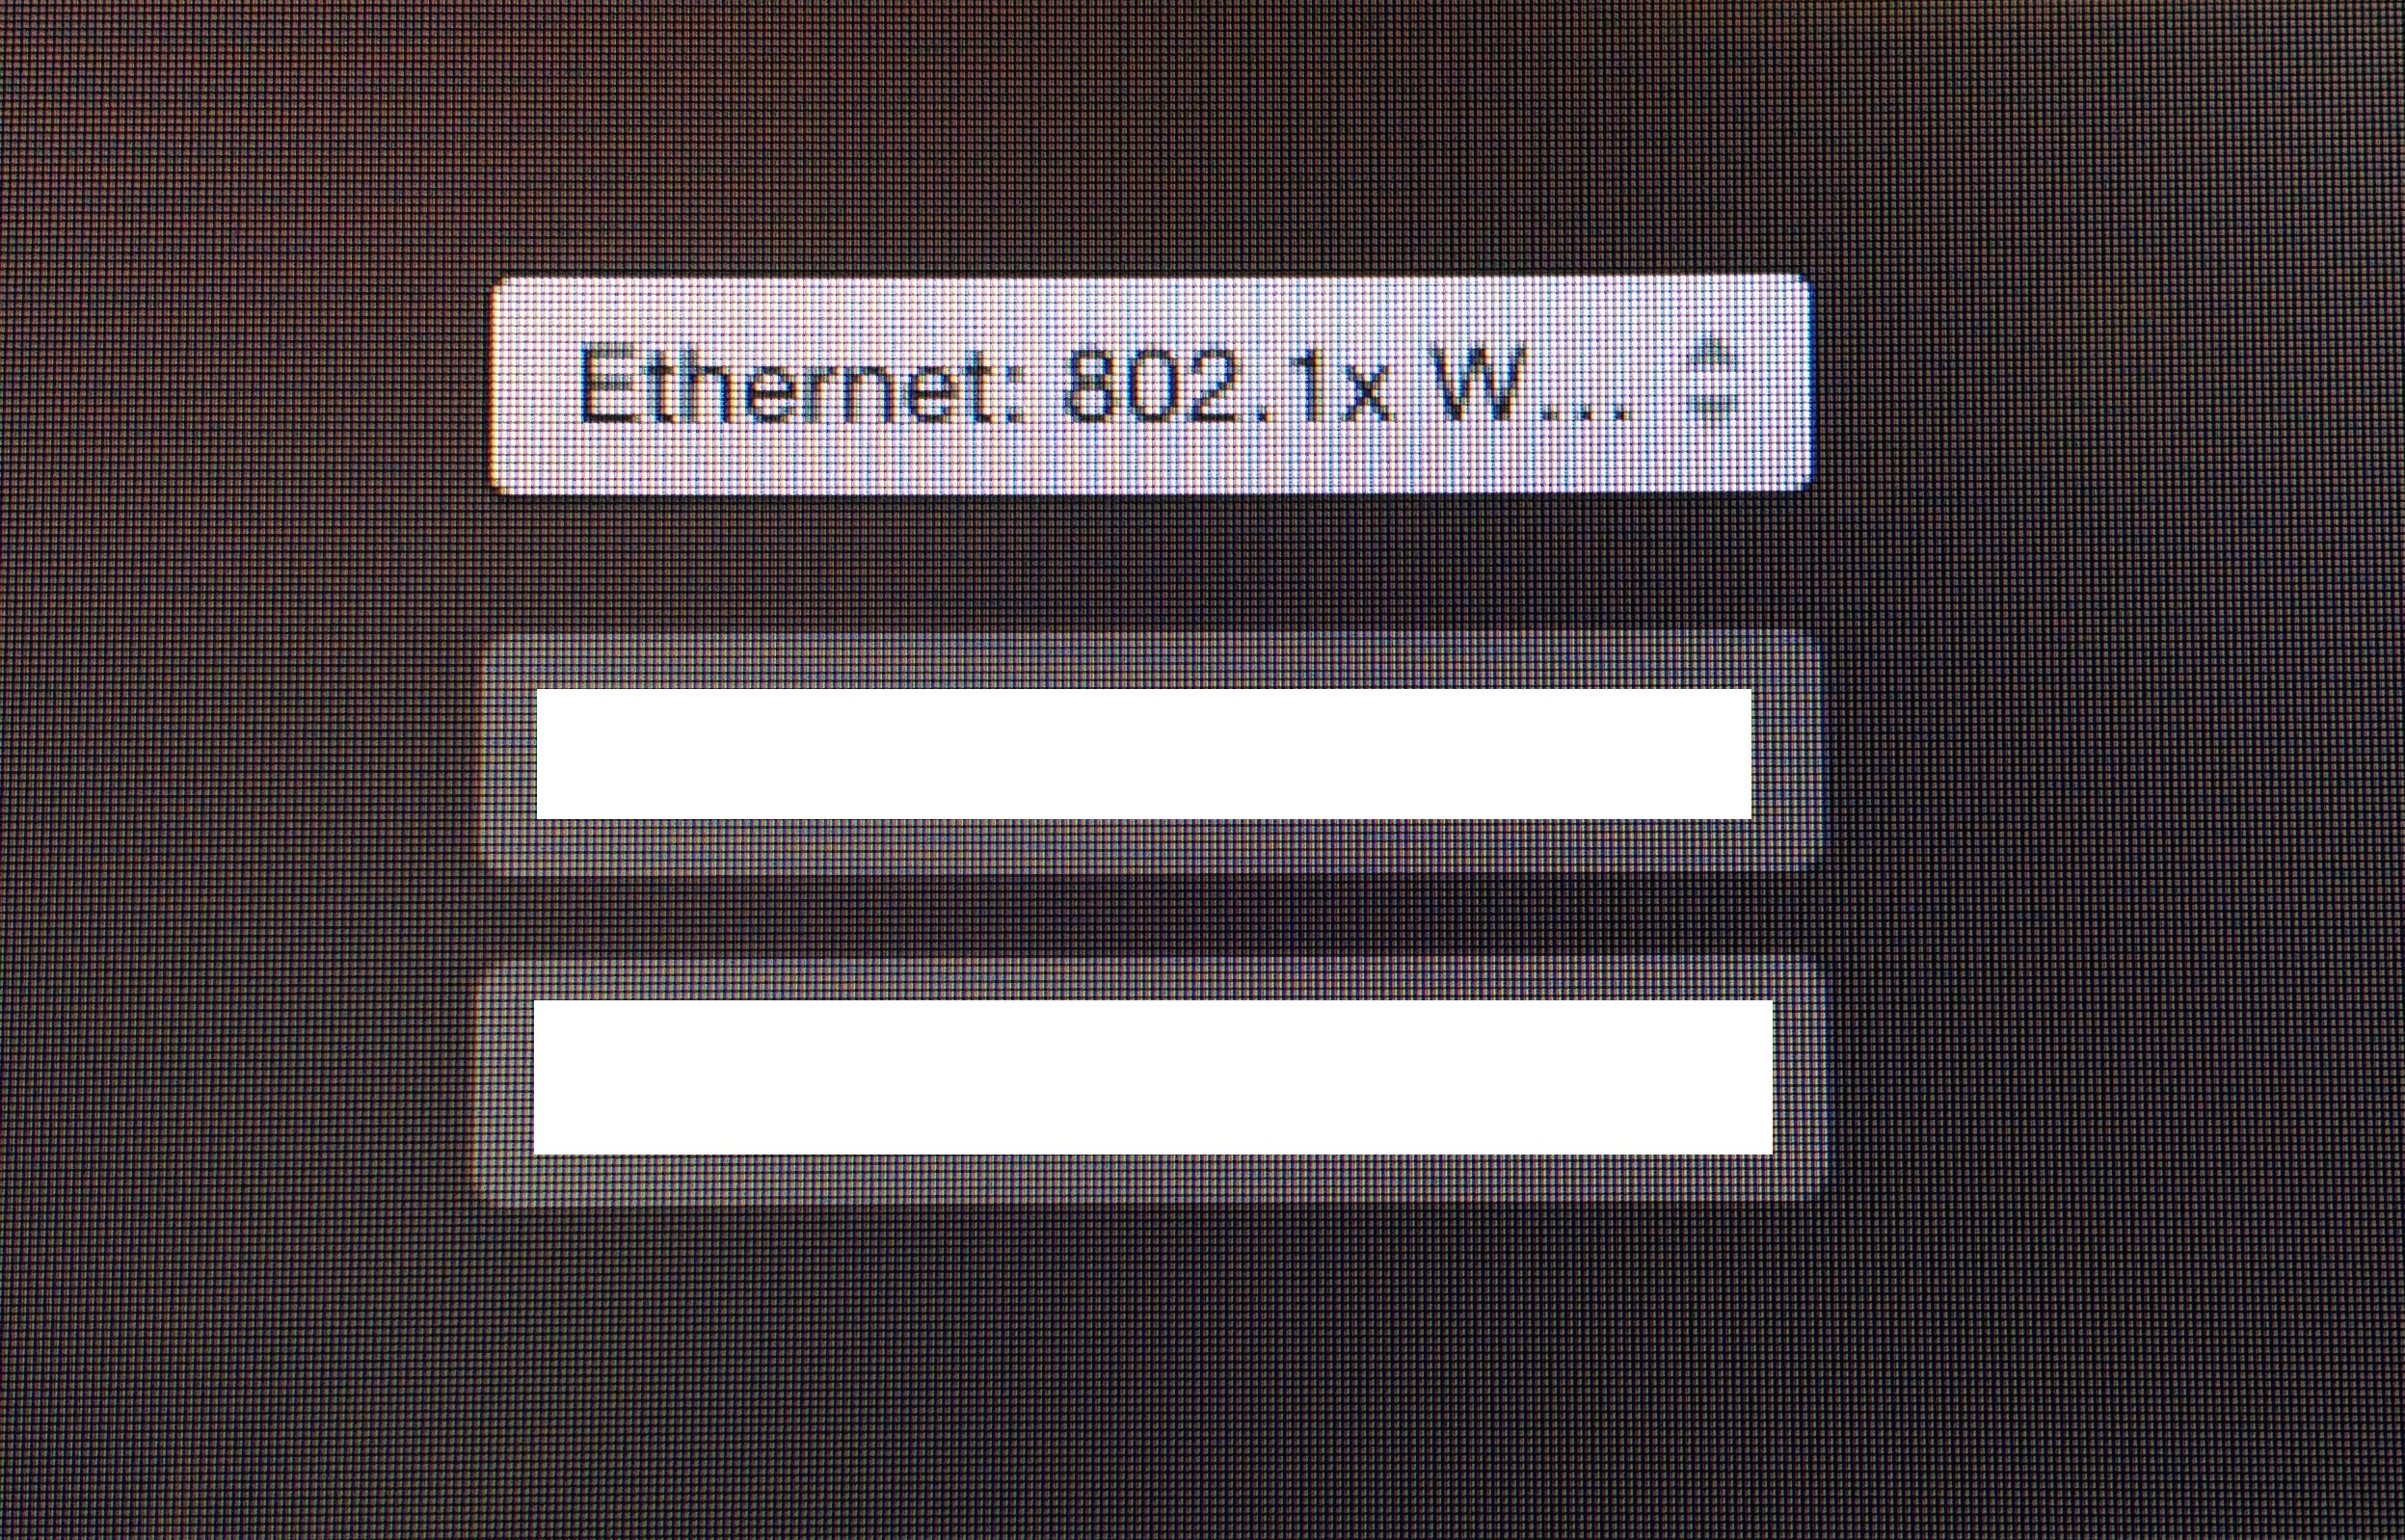
The OS X login window, demonstrating the 802.1x profile in use.
When it comes to debugging the profile, keep a close eye on your RADIUS server logs. It’s also worth looking at the /var/log/syslog file on the local system for EAP errors. That same trick works for Linux boxes as well and helped me find out the hard way that the key length was too short to be trusted on our test certificate!